Running Jobs on Katana
Brief Overview
Katana is a High Performance Computing (HPC) cluster. It allows users to run computationally intensive programs on powerful compute nodes. Login nodes are only for preparing, submitting, and managing jobs—not for heavy calculations.

⚠ Warning: Do not run computationally intensive processes on login nodes; use compute nodes instead.
Jobs are submitted from the login node, which delivers them to the Head Node for job and resource management. Once resources are allocated, the job will run on one or more compute nodes.
Katana uses OpenPBS to manage resources and schedule jobs.
Job Types
- Batch Job – Runs a scripted job automatically from start to finish without user intervention. Ideal for long-running production tasks.
- Interactive Job – Provides a live shell session on compute nodes for experimentation and debugging. Useful for testing and planning batch jobs.
All jobs enter a queue while waiting for resources.
Resources
Main resources requested by jobs:
- Memory (RAM)
- CPU cores
- Walltime (time for CPUs)
Note: Increasing memory, CPU cores, or walltime may limit the available queues. See the queue limits below.
Create a Job Folder
Create a dedicated folder for your job files. This keeps your work organized and makes it easier to manage multiple jobs.
mkdir MyFirstJob
cd MyFirstJob

Create a script or program to run
Before submitting a job, you need a script or program to execute. This could be a compiled binary, a Python script, an R script, or any other executable file.
For example, create a simple Python script named myprogram.py:
nano myprogram.py
Inside nano, add the following code:
print("Hello, Katana!")
Batch Jobs (qsub)
A batch job is a script that runs autonomously on a compute node. The script specifies resources and commands to run. Now you will create a job script to run the program you created.
Step 1: Create a Job Script File
# Create a new file called myjob.pbs
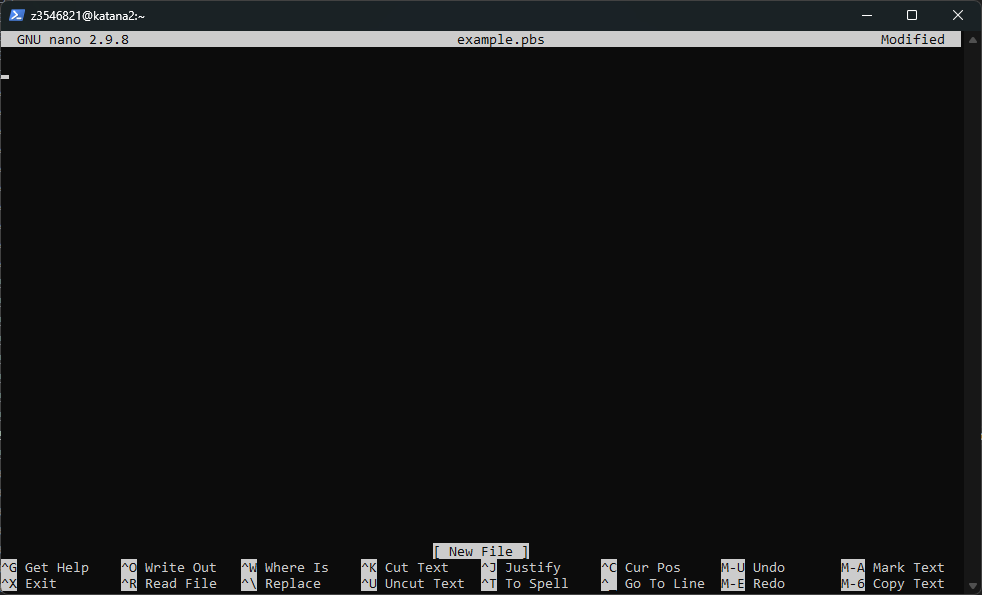
nano myjob.pbs

This opens a simple text editor in the terminal:
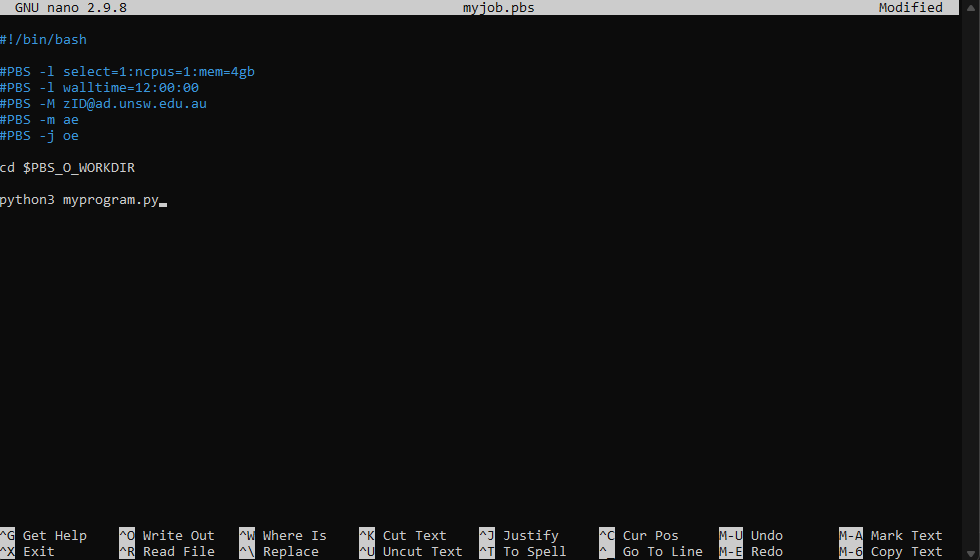
Copy the following template into the editor:
#!/bin/bash

#PBS -l select=1:ncpus=1:mem=4gb
#PBS -l walltime=12:00:00
#PBS -M zID@ad.unsw.edu.au
#PBS -m ae
#PBS -j oe

cd $PBS_O_WORKDIR

python3 myprogram.py
Note
What each line does:
#!/bin/bash
Tells the system to use the Bash shell to run your script. Every script should start with this line.
#PBS -l select=1:ncpus=1:mem=4gb`
Requests 1 compute node with 1 CPU core and 4GB RAM. The scheduler uses this to allocate resources. You can adjust ncpus and mem as needed.
#PBS -l walltime=12:00:00
Sets the maximum run time to 12 hours. See the Walltime section below for more details.
#PBS -M your.name.here@unsw.edu.au
#PBS -m ae
(Optional)Sends an email notification if the job aborts (a) or ends normally (e). Useful to know when your job finishes or fails.
#PBS -j oe
(Optional)Combines the standard output and standard error into a single file, making it easier to review the results.
cd $PBS_O_WORKDIR
Changes the working directory to where you ran qsub. This ensures you are running in the correct folder.
python3 myprogram.py
Runs your program. Replace myprogram with the actual program or script you want to execute.
- Press
CTRL+Sto save andCTRL+Xto exitnano.
Step 2: Submit the Batch Job
qsub myjob.pbs
- Terminal will return a job ID (e.g.,
1239.kman.restech.unsw.edu.au) - Scheduler will run the job when resources are available.
- When the job is finished, two files will be created in your folder:
myjob.o1239andmyjob.e1239(where1239is your job ID). The.ofile contains standard output, and the.efile contains any error messages. You can usecat,less, ornanoto view these files. - To check the status of your job, use:
qstat job_id (e.g., qstat 6787878)
Requesting GPUs in Your Jobs
Many applications on Katana can make use of GPUs for faster computation.
You can request GPUs in both interactive and batch jobs by adding the ngpus resource.
Basic GPU Request
qsub -I -l select=1:ncpus=2:mem=8gb:ngpus=1
- 2 CPU cores
- 8 GB of memory
If you don't specify ngpus, the default is ngpus=0 (no GPU).
Requesting a Specific GPU Model
Different Katana nodes have different GPU models available (e.g. V100, A100).
You can check available models with:
pbsnodes -av | grep gpu_model
Once you know which models exist, you can request a specific one like this:
qsub -I -l select=1:ncpus=2:mem=8gb:ngpus=1:gpu_model=A100
This example requests:
- 1 A100 GPU
- 2 CPU cores
- 8 GB of memory
If you don't specify gpu_model, the scheduler will assign any available GPU.
Interactive Jobs (qsub -I)
Interactive jobs let you run commands directly on Katana’s compute nodes (not the login node). This is useful when:
- You need to test software before creating a batch script.
- You want to debug or profile code in a live environment.
- You are running short, exploratory tasks where you need to see output in real time.
Note
Interactive jobs are not suitable for long-running tasks. Use batch jobs for production workloads. Do not run heavy computations on the login node. Always request an interactive session so your work runs on compute resources.
Starting an Interactive Session
To start an interactive job, use qsub -I with resource requests. For example:
qsub -I
or
qsub -I -l select=1:ncpus=2:mem=8gb -l walltime=02:00:00

Mote
Without resource requests, the default is 1 CPU core, 4GB RAM, and 1 hour walltime.
Once your session starts, you will be logged into a compute node. You can run commands as you would on the login node.
Understanding Walltime
Walltime is the maximum amount of real time that your job is allowed to run on the cluster. It is requested when you submit a job and is used by the scheduler to plan resources.
- Walltime is specified in hours, minutes, and seconds, the default walltime is 1 hour if not specified in script.
- If your job runs longer than the walltime, it will be terminated automatically, even if it hasn’t finished.
- Walltime affects which queues your job can be scheduled on. Shorter walltime jobs usually start faster, while longer jobs may only be able to run on specific nodes.
- Always estimate your job’s runtime carefully. If unsure, it’s safer to slightly overestimate but not excessively, as very long walltime requests may reduce scheduling priority.
- For long workflows, consider splitting tasks into multiple jobs to fit within walltime limits.
Job queue limits summary
Typical job queue limit cut-offs are shown below. The walltime is what determines whether a job can be run on any node, or only on a restricted set of nodes.
| Resource | Queue limit cut-offs | |||||
| Memory (GB) | 124 | 180 | 248 | 370 | 750 | 1000 |
| CPU Cores | 16 | 20 | 24 | 28 | 32 | 44 |
| Walltime (hrs) | 12 | 48 | 100 | 200 | ||
| Any node | School-owned or general-use nodes | School-owned nodes only | ||||
Restech GitHub Repositories
- Restech-HPC – Example Katana scripts
- UNSW-Data-Archive – Upload/download scripts
- UNSW-eNotebook-LabArchives – LabArchives widgets